I made my first Burlap Wreath this week!
And, it was so much easier than I thought it would be.
I love the way they look, rustic and fabulous. They are simple to assemble and customize. So, I made one for my sister-in-law, as a birthday gift. After looking around on Pinterest for ideas, I headed to the store for supplies, then got to work.
- 5 in x 10 yd burlap x 2 rolls
- 18 in. metal wreath hoop
- 5 in x 5 yd of dyed burlap
- several short pieces of pipe cleaner
- wooden letter & acrylic paint
- hot glue gun & plenty of glue
First, I painted the letter teal. I didn't like the color, so I repainted it black, then settled on beige.
Next, I began making the wreath. I started by anchoring the end of the burlap to the front of the hoop, with a small piece of pipe cleaner.
I would describe making the wreath as weaving. I wove the burlap into loops from underneath about 3 inches upward into the inner ring, then the middle ring, and then the outer ring. And, repeated the process, working my way around. I fluffed up the burlap loops as I went, to give the wreath a full, even look. The first roll of burlap went a little more than half way around the ring. I secured the end of the burlap to the hoop with another piece of pipe cleaner.
I wove up 6 loops of burlap on the hoop between each cross piece of metal.
You could weave even more loops upward to create a more voluminous wreath.
 |
| An example of the loops of burlap, coming up from underneath the hoop. |
After I went all the way around the hoop, I tied the end down with a piece of pipe cleaner. There was about 1 1/2 yards of burlap left over.
 |
| This is the basic burlap wreath. |
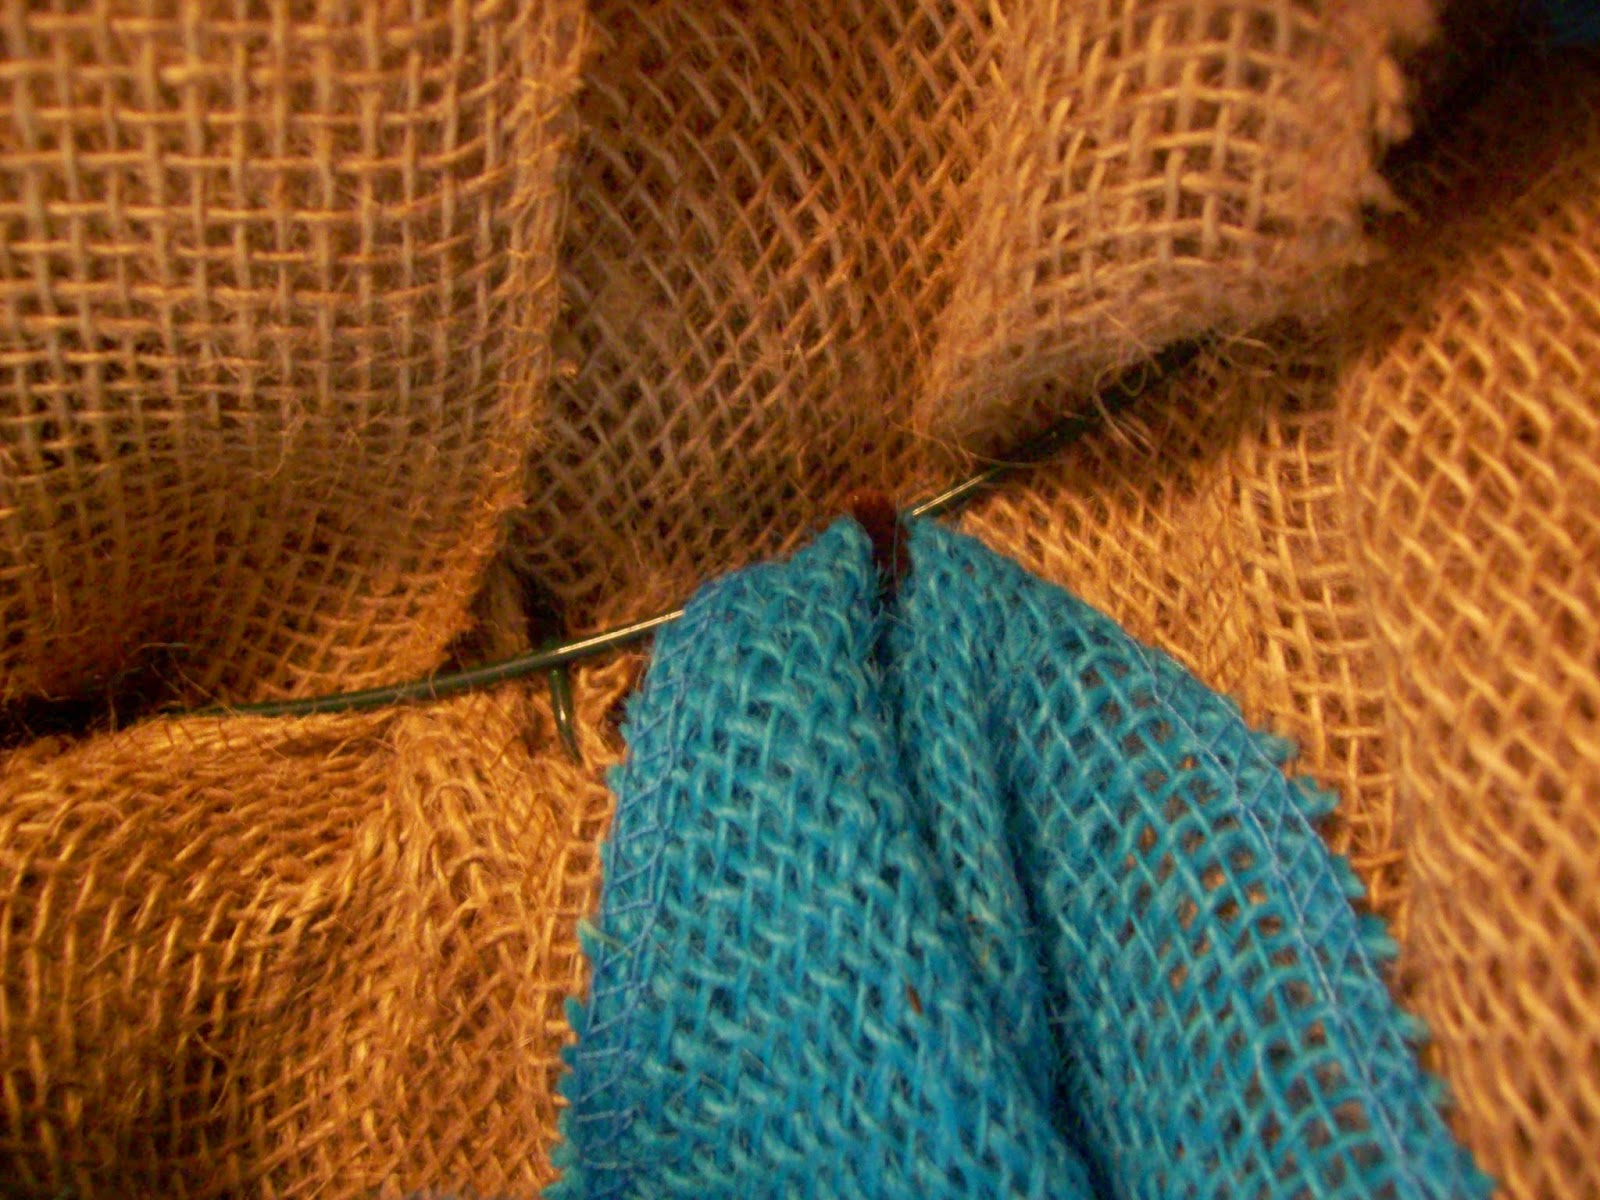
Then, I added some dyed burlap to the front of the wreath. I attached the dyed burlap to the center of the metal hoop every 3 to 4 inches, all the way around.
 |
| Fastening the dyed burlap to the metal hoop with pipe cleaner. |
The photo on the left is the best example I have of how I made my bows. I laid the burlap just like that dyed burlap, and squeezed the center together with a piece of pipe cleaner.
 |
| For more information about making bows like these, lots of great tutorials can be found on Pinterest. |
I placed the dyed burlap bow on top of the burlap bow, and wrapped a small piece of the dyed burlap around both, securing it with piece of pipe cleaner. I finished the bows off by giving the tails angled "v" cuts.
Lastly, I hot glued both the finished bow and the letter 'G' to the wreath. I used a LOT of hot glue to keep them in place.
And, that's it.
I spent the better part of an afternoon working on this wreath.
A labor of love!
Burlap wreaths are so delightful and versatile. I'll be making one for myself next!


