So, my daughter picked out her favorite book and we attempted to recreate it- pumpkin style. :)
 The book she chose was Ladybug Girl and Bumblebee Boy, her favorite among the Ladybug Girl books that we own. They are an adorable group of books by David Soman and Jacky Davis. We decided to decorate two pumpkins, one to represent Ladybug Girl and one to represent Bumblebee Boy.
Here's how we made them:
Supplies:
- Two baking pumpkins (they were cheaper and more manageble that the larger pumpkins)
- Red, yellow, and black acryllic paint
- small bowl for paint & paint brushes
- about 24 inches of metal wire
- 2 small rubber bands
- 1 yard of red tulle
- 12 small, black felt circles
- 2 small, red pom poms
- 2 12 inch pieces of red ribbon
- Hot glue gun
Unfortunately, I didn't photograph my steps very well. Hopefully the pictures of the finished products should answer any questions.
 |
| Finished Bumblebee Boy pumpkin. |
For the Ladybug Girl inspired pumpkin, we started by painting it red. Again, my daughter did the painting. The decorations for this pumpkin were a little more tricky, though, I made the pumpkin a tutu, a set of wings, and a headband.
The tutu is a tiny version of a 'no sew tutu' using the red tulle and red ribbon. There are lots of different tutorials on youtube explaining how to make one of these, such as "How to Make a Tutu by CraftyGuides" and "Make a No Sew Tutu by Yolanda Soto Lopez." After I tied the tutu around the pumpkin, I got just a little black paint on the tip of my paint brush and lightly added some of the paint to the outer edges of the tutu. I was super careful not to add to much and have big globs of paint dripping from the tutu.
I made the frame of the wings with some metal wire, I'm not sure what gauge the wire was, but I could bend it with my hand. The shape was basically two semi-circle/ovals that met in the middle. Also, I painted the frame black. Then, I stretched a small piece of tulle over each wing frame and tied each side off with rubber bands. Finally, I added the little felt circles to the wings. I put a dot of glue on one circle, and when I put in on the tulle I pressed another circle to it on the other side of the tulle, creating one polka dot. Each wing needed 6 circles, but it ended up looking like each wing had 3 polka dots. I added the wings to the pumpkin with hot glue.
The last thing I created was a headband. I made a roundish circle of wire that fit around the base of the stem fairly tight, and added two pieces of wire to it, both sticking up. Then I curved the two pieces of wire. We painted all of the metal black. Then, I wrapped the wire circle in red ribbon. The finishing touch was the gluing little pom poms on the ends of the two wires sticking up. Super cute!
The tutu is a tiny version of a 'no sew tutu' using the red tulle and red ribbon. There are lots of different tutorials on youtube explaining how to make one of these, such as "How to Make a Tutu by CraftyGuides" and "Make a No Sew Tutu by Yolanda Soto Lopez." After I tied the tutu around the pumpkin, I got just a little black paint on the tip of my paint brush and lightly added some of the paint to the outer edges of the tutu. I was super careful not to add to much and have big globs of paint dripping from the tutu.
 |
| Our Ladybug Girl pumpkin decorations. |
 |
| Finished Ladybug Girl pumpkin. |
The last thing I created was a headband. I made a roundish circle of wire that fit around the base of the stem fairly tight, and added two pieces of wire to it, both sticking up. Then I curved the two pieces of wire. We painted all of the metal black. Then, I wrapped the wire circle in red ribbon. The finishing touch was the gluing little pom poms on the ends of the two wires sticking up. Super cute!
I was very pleased with how the pumpkins turned out! It was a great craft for my daughter and I, and they looked good in the library's Storybook Pumpkin Patch.
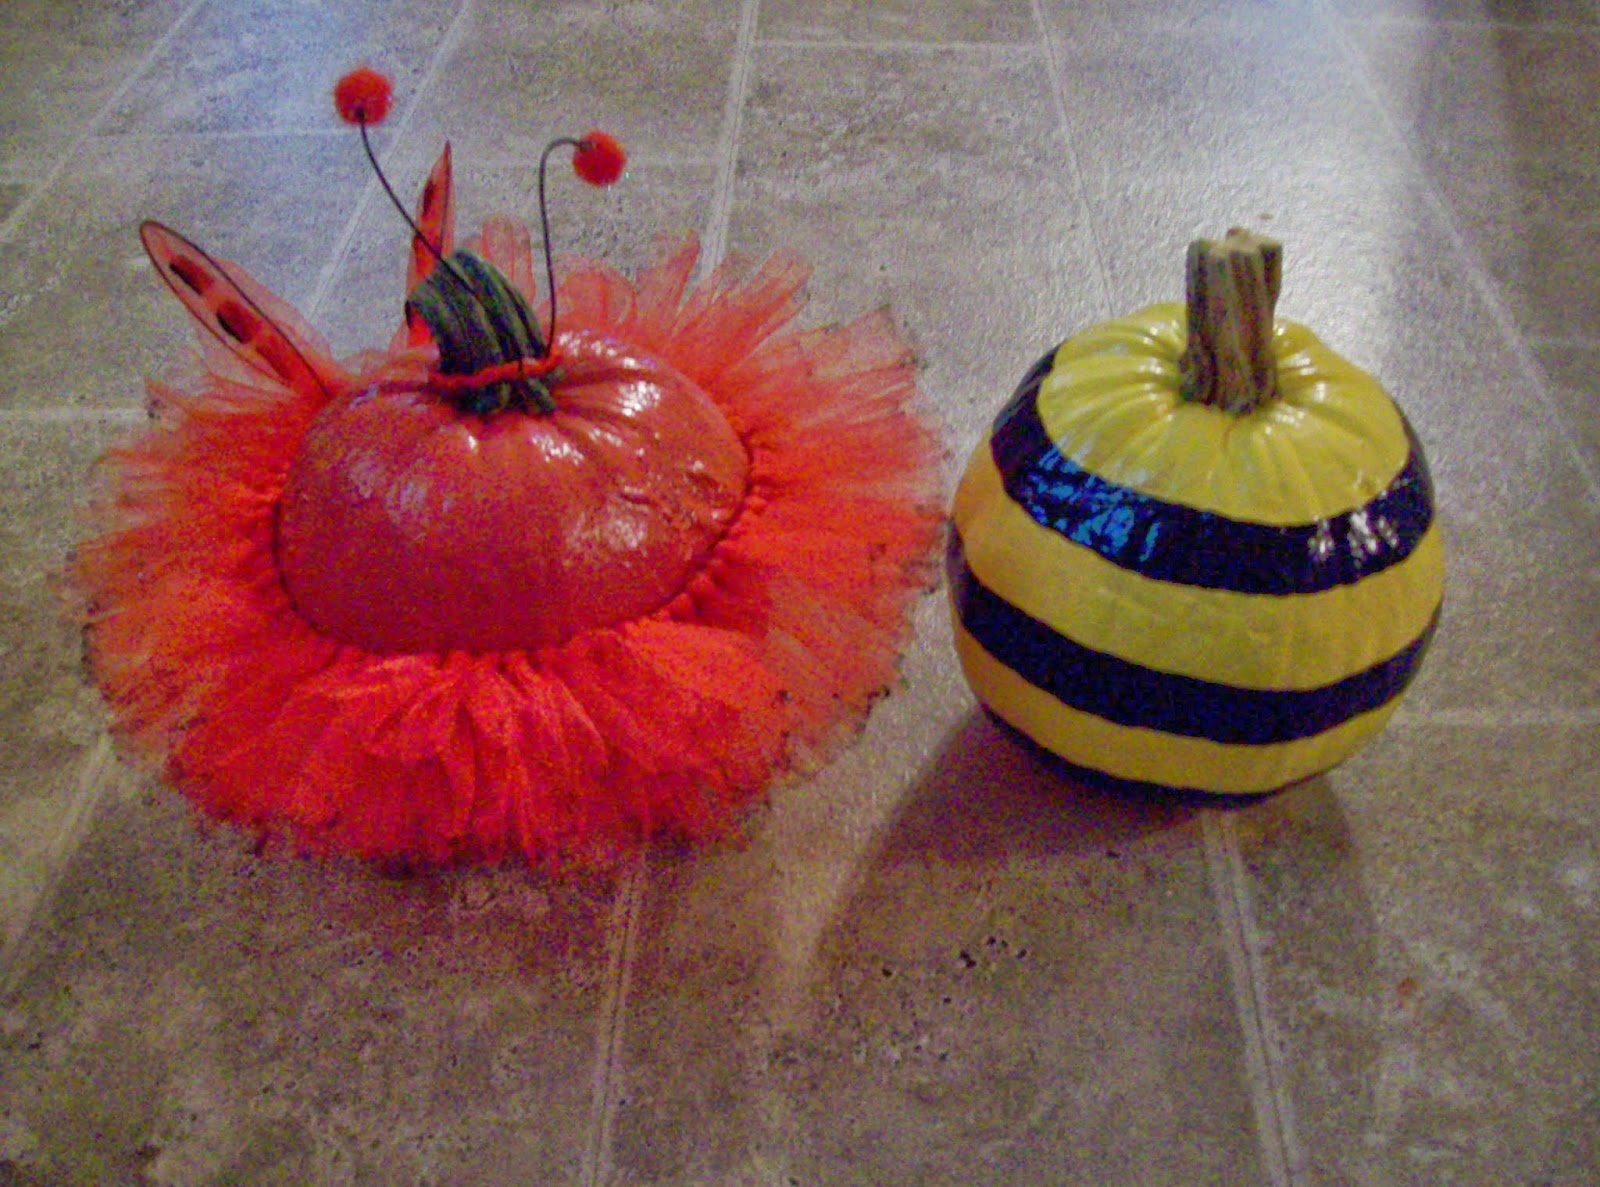 |
| Ladybug Girl and Bumblebee Boy inspired pumpkins. |
No comments:
Post a Comment